Keyri Firebase Integration - Fully Passwordless Server-Side Authentication
Server-side Keyri authentication is a more secure, flexible, and auditable way to incorporate Keyri into a Firebase Authentication-based app system. Importantly, it allows for fully passwordless authentication, including within your mobile app.
You can find the web + server-side source code here: https://github.com/Keyri-Co/keyri-firebase-serverside-authentication (opens in a new tab)
To enable Keyri passwordless authentication on an application (mobile and/or web), the following are required:
-
Initialize the Firebase Admin SDK on your server or serverless functions, and through it, access Firebase Authentication and (if you're using Firestore as your database) Firestore interfaces. Note that you may use any database to hold and access users' Keyri public key credentials.
-
Implement Keyri registration and login functions on this server / serverless environment (code detailed below)
-
Expose those Keyri functions via web APIs
-
Configure your Firebase-enabled client application(s) to authenticate users based on the token outputs of those Keyri-Firebase-APIs
-
For mobile apps, install the Keyri SDK and configure it and your application to interact with the Keyri-Firebase-APIs
Initial Firebase Configuration
Authentication
The only strictly necessary Firebase configuration required to make Keyri passwordless authentication work is enabling "Anonymous" as a sign-in provider. Keyri full passwordless users will not truly be anonymous - you can assign to them email addresses, phone numbers, display names, etc., and even provide the same user additional methods to log in, such as email/password

Enable Admin SDK
To access specific Firebase functionalities that are only available from servers, you need to create an Admin Service Account. To do so, navigate to Project settings -> Service accounts, then click "Create service account" or "Generate new private key" to receive credentials that your server must use access Firebase services.

Get Firebase Client Credentials
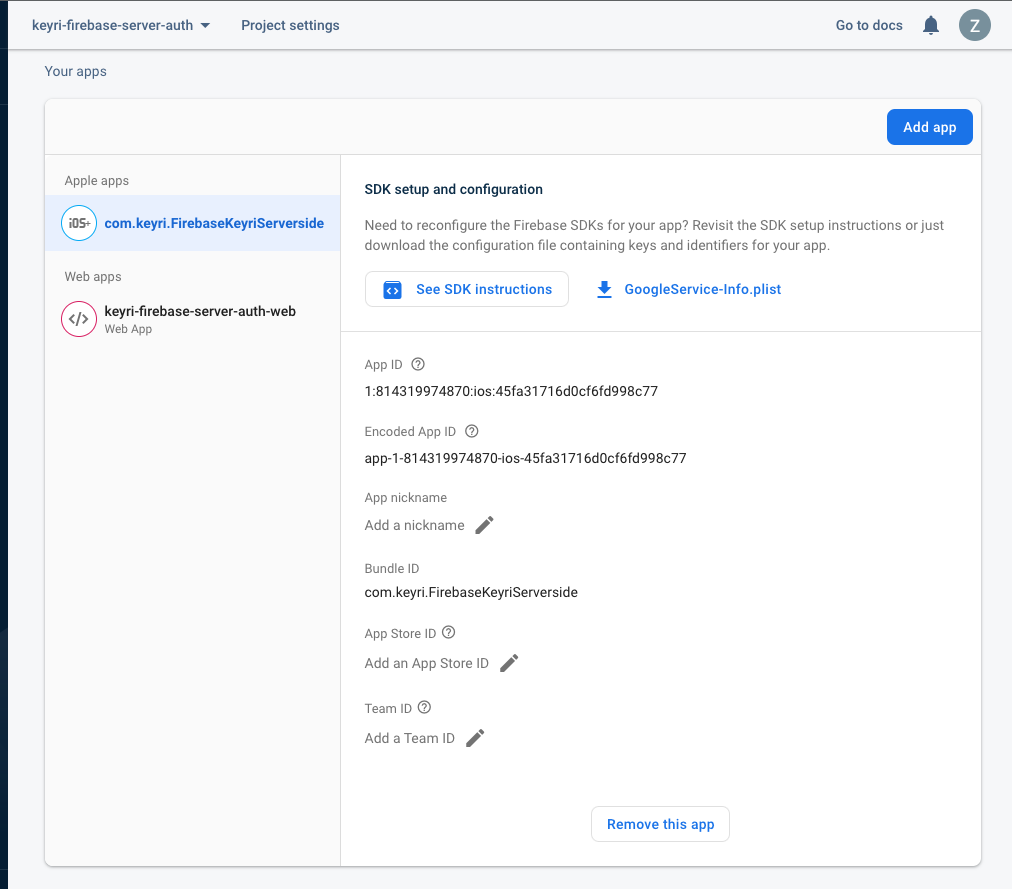
Get Firebase client SDK credentials, from the application-specific Project settings menu under the General tab. This will provide the credentials and config files for your mobile apps and web app.
Firestore
If you intend to use Firestore as your primary database, simply ensure that Firestore is enabled for your project, which it likely already is.
Server
Video - Server and Web App
This video will walk through each element of setting up your authentication server and web app to use Keyri authentication in conjunction with Firebase auth. It is effectively a narration of the written documentation below.
The following Keyri-Firebase functions can be deployed on your existing servers or new serverless environments, including Firebase Cloud Functions. The functions involve Keyri-related cryptographic verifications and calls to Firebase cloud services. They must ultimately be exposed to the internet via API, accepting POST requests.
Note that the examples in this document assume you are using Firestore as your user database, but any database can be used to store users' identifiers (email, uid, etc.) and Keyri public keys
Dependencies
For an example Node.js-based server, it is recommended and sometimes required that you install the following dependencies:
npm i firebase-admin corsFirebase Initialization
const crypto = require('crypto');
const admin = require('firebase-admin');
const { getFirestore } = require('firebase-admin/firestore');

const configuration = require('../config/firebaseAdmin');

admin.initializeApp({
  credential: admin.credential.cert(configuration.firebaseConfig),
});

const db = getFirestore();
Note that configuration is a JSON containing the the Firebase admin SDK credentials received from the "Enable Admin SDK" step above, in this case pulling the constituent credentials from environment variables.
Keyri Registration
keyriRegistration(email, publicKey) is a function that is POSTed to from your
mobile app in order to associate a given user with a public key (termed
associationKey in the mobile SDK) in your user database / table, and it
returns a Firebase Authentication customToken that can be used by your mobile
app to immediately log the user in as well. This public key is subsequently used
during the same user's login process, whether on mobile or web, to
cryptographically validate their authentication request and similarly issue a
customToken if the request is valid.
const keyriRegister = async (email, publicKey) => {
  // First check if the user already exists
  if (
    await admin
      .auth()
      .getUserByEmail(email)
      .catch((error) => {
        console.log(`User already exists: ${email}`);
      })
  ) {
    // If they exist, update their public key
    const userRecord = await admin
      .auth()
      .getUserByEmail(email)
      .catch((error) => {
        console.log(`Firebase error: ${error}`);
      });
    await db.collection('users').doc(userRecord.email).set(
      {
        uid: userRecord.uid,
        email: userRecord.email,
        publicKey,
      },
      { merge: true }
    );
    const token = await admin.auth().createCustomToken(userRecord.uid);
    return token;
  } else {
    try {
      // Create the user in Firebase Authentication
      const userRecord = await admin.auth().createUser({
        email,
        displayName: email,
      });
      // Make a record for this user in Firestore, including the Keyri public key
      await db.collection('users').doc(userRecord.email).set({
        uid: userRecord.uid,
        email: userRecord.email,
        publicKey,
      });
      // Create a custom token for the user
      const token = await admin.auth().createCustomToken(userRecord.uid);
      return token;
    } catch (error) {
      console.log(`Line 48 Firebase error: ${error}`);
    }
  }
};

module.exports = { keyriRegister };
Keyri Login
keyriLogin(email, data, signature) is a function that is POSted to either from
your mobile app or web app (via the Keyri QR Widget) in order to:
-
Look up an existing user's public key from Firestore based on their email address
-
From the
datastring, extract the unix timestamp fragment and ensure that the login request was sent relatively recently (within the last 60 seconds in this example) -
Verify the
signatureof data to ultimately output a boolean representing whether or not the login request is valid
Embedded within the keyriLogin({...}) function is a helper function called
verifySignature(pubKeyB64, data, signatureB64) that handles the actual
cryptographic verification, while keyriLogin({...}) helps
verifySignature({...}) by first looking up the user's stored public key
// Meat and potatoes authentication logic
const verifySignature = (pubKeyB64, data, signatureB64) => {
  // Make sure you received all the necessary data
  if (
    typeof pubKeyB64 === 'undefined' ||
    typeof data === 'undefined' ||
    typeof signatureB64 === 'undefined'
  ) {
    console.log('Missing data');
  }

  // Make sure you received a valid timestamp
  const timestamp = parseInt(data.slice(0, 13), 10);
  const now = new Date().getTime();
  if (Number.isNaN(timestamp) || Math.abs(now - timestamp) > 60_000) {
    console.log(`Invalid timestamp: ${timestamp}`);
    console.log(`Now: ${now}`);
    console.log(`Difference: ${Math.abs(now - timestamp)}`);
    return false;
  }

  // The actual cryptographic verification
  const pubKey = crypto.createPublicKey(
    `-----BEGIN PUBLIC KEY-----\n${pubKeyB64}\n-----END PUBLIC KEY-----`
  );
  try {
    const verify = crypto.createVerify('sha256');
    verify.update(Buffer.from(data));
    verify.end();
    const verified = verify.verify(pubKey, Buffer.from(signatureB64, 'base64'));
    return verified;
  } catch (e) {
    console.log('Signature could not be verified');
  }
};

// The full login function for getting a custom Firebase token to be used client-side for authentication
const keyriLogin = async (email, data, signatureB64) => {
  // First, get the user's public key from Firestore
  const userDoc = await db
    .collection('users')
    .doc(email)
    .get()
    .catch((error) => {
      console.log(`Firebase error: ${error}`);
    });
  const pubKeyB64 = userDoc.data().publicKey;
  // Verify the signature
  const verified = verifySignature(pubKeyB64, data, signatureB64);
  // If the signature is valid, create a custom token for the user
  if (verified) {
    const userRecord = await admin
      .auth()
      .getUserByEmail(email)
      .catch((error) => {
        console.log(`Firebase error: ${error}`);
      });
    return admin.auth().createCustomToken(userRecord.uid);
  }
};

module.exports = { keyriLogin };Now that you've set up these functions, expose them via public API endpoints!!! Your mobile and web apps will need them as demonstrated below
Web App
The web app in this example is designed to support both Firebase's native authentication methods (email/password in this case) and Keyri passwordless QR login seamlessly, providing access to the same user profile regardless of how the user signs in. Users can register and log in via username/password on the website, and if they registered or logged in on the associated mobile app, can also use the app to sign in by scanning the QR code on the login view. The two auth options operate in parallel, but yield access to the same user record.
The example linked in the repository at the top of this page is a Next.js / React app that uses a few hooks for convenient state handling and conditional rendering. However, the code examples below should demonstrate the heart of the business logic involved.
This guide will ignore React UX-related items like states used for conditional
rendering as well as the functions related to conventional Firebase
authentication methods like username/password and signOut(), as those are
sufficiently documented by
Firebase (opens in a new tab).
Dependencies
The only dependency strictly required for the web client is the Firebase web client SDK
npm i firebaseImports and Firebase Initialization
import Head from 'next/head'; // Next.js-specific
import styles from '../styles/Home.module.css'; // If your system uses scoped modular CSS
import { useEffect, useState } from 'react'; // If your app is a React app
import { initializeApp } from 'firebase/app';
import {
  getAuth,
  signInWithCustomToken,
  signInWithEmailAndPassword,
  createUserWithEmailAndPassword,
  signOut,
  EmailAuthProvider,
  linkWithCredential,
} from 'firebase/auth';
import { getFirestore, doc, getDoc } from 'firebase/firestore';

const firebaseClientConfig = {
  apiKey: process.env.NEXT_PUBLIC_FIREBASE_PUBLIC_API_KEY,
  authDomain: process.env.NEXT_PUBLIC_FIREBASE_AUTH_DOMAIN,
  projectId: process.env.NEXT_PUBLIC_FIREBASE_PROJECT_ID,
  storageBucket: process.env.NEXT_PUBLIC_FIREBASE_STORAGE_BUCKET,
  messagingSenderId: process.env.NEXT_PUBLIC_FIREBASE_MESSAGING_SENDER_ID,
  appId: process.env.NEXT_PUBLIC_FIREBASE_APP_ID,
}; //

const app = initializeApp(firebaseClientConfig);
const auth = getAuth(app);
const db = getFirestore(app);
useEffect Hooks / Event Listeners
You will need to set up two listeners, whether it's through React's useEffect hooks or other techniques available in your web library / framework. The first listens to changes in the auth state and reacts accordingly, while the other listens for events being emitted by the Keyri widget.
useEffect(() => {
  auth.onAuthStateChanged((user) => {
    if (user) {
      setUser(user);
      defineUserType(user);
    } else {
      setUser(null);
    }
  });
}, []);

useEffect(() => {
  window.addEventListener('message', async (evt) => {
    if (
      evt.data.keyri &&
      evt.data.data &&
      document.location.origin == evt.origin
    ) {
      const { data } = evt;
      if (!data.error) {
        try {
          const payload = data.data;
          await handleQrLogin(payload);
        } catch (error) {
          setAuthError('Could not log in with custom token');
        }
      } else if (data.error) {
        setAuthError(data.error);
      }
    }
  });
}, []);
Handling QR login
The following functions are triggered by the event listeners above.
handleQrLogin(payload) sends the payload coming out of the Keyri widget from
your mobile app to your /keyrilogin endpoint, retrieves a custom Firebase auth
token, then ultimately logs the user in by exchanging the custom token for a
user object through the loginCustomToken(token) function.
const handleQrLogin = async (payload) => {
    try {
      setLoading(true);
      const customToken = await fetch(/*'https://url.tld/keyrilogin'*/, {
        method: 'POST',
        headers: {
          'Content-Type': 'application/json',
        },
        body: payload,
      }).then((res) => res.text());
      await loginCustomToken(customToken); // This should log the user in, just like with email/password
      setLoading(false);
    } catch (error) {
      setAuthError('Could not log in with custom token');
    }
  };

  const loginCustomToken = async (token) => {
    try {
      await signInWithCustomToken(auth, token);
    } catch (error) {
      console.log(error);
    }
  };
Adding Other Authentication Methods to Keyri-Passwordless-Only Users
As noted above, when a user registers solely through Keyri passwordless through your mobile app, they are considered "anonymous" users by Firebase Authentication. In order to provide them other means of logging into their account, you can add authentication providers to their profile. In this example, we will give Keyri-Passwordless-Only users the ability to add a password to their account, thereby allowing them to log in with either option. Other options include Apple OIDC, Google OIDC, phone SMS, etc. Trigger the following function while a Keyri user is logged into your web app and has input the password that they'd like to use.
const addPasswordToUser = async (e) => {
  e.preventDefault();
  try {
    const credential = EmailAuthProvider.credential(user.email, password);
    await linkWithCredential(auth.currentUser, credential);
    defineUserType(user);
  } catch (error) {
    console.log(error);
  }
};That's it for server-side and web client-side setup. Now onto making your mobile app, in this case, an iOS example.
Mobile (iOS)
Video - iOS Demo App
The following video is a walkthrough of the key elements required to incorporate Keyri authentication in conjunction with native Firebase email/password authentication. As with the server+web video, it is effectively a narration of the documentation below
As with the server + web documentation, we are excluding the code for implementing traditional Firebase authentication methods like email/password, and they are already sufficiently documented by Firebase. The following section focuses on Keyri passwordless functionality - both for authentication within your app and on your web app via QR login.
Source code for this mobile app can be found here: https://github.com/Keyri-Co/firebaseServersideIos (opens in a new tab)
Install Keyri and Firebase SDKs
  # Pods for KeyriFirebase
  pod 'keyri-pod'
  pod 'FirebaseAuth'
Import the following Cocoapods (also available via SPM)
To set up Firebase, follow their setup guide on their developer portal, then download the generated GoogleService-Info.plist file and place it at the root of your project (details on how to get this in the "Get Firebase Client Credentials" section above).
Then, simply import KeyriInterface and Firebase in the files you intend to use them
Register a Passwordless User
To register a user, one first must set up a keypair with the Keyri SDK and send it to their custom server (details on how to implement that portion in the Server section above). The web server responds with a custom token, which the mobile app uses to get a user from the Firebase SDK using the custom auth method. The code snippet below shows how one can accomplish this easily.
Note: We force unwrap in several places for brevity, please be careful with that in production code
static func register(username: String) {
    let keyri = KeyriInterface(appKey: appKey, publicApiKey: publicApiKey, serviceEncryptionKey: serviceEncryptionKey)

    let key = try! keyri.generateAssociationKey(publicUserId: username).derRepresentation.base64EncodedString

    let body = "{\"email\": \"\(username)\",\"publicKey\": \"\(String(describing: key))\"}"

    var httpReq = URLRequest(url: URL(string: "url.tld/keyriregister")!)
    httpReq.httpBody = body.data(using: .utf8)!

    URLSession.shared.dataTask(with: httpReq) { data, _, _ in
        if let data = data {
            let token = String(data: data, encoding: .utf8)!
            Auth.auth().signIn(withCustomToken: token) { user, error in
                if let user = user {
                    // Log in the user
                }
            }
        }
    }.resume()
}
Sign in an Existing User In-App
To sign in an existing user, the flow is actually very similar to the registration piece, just with one alteration: the body sent to the custom API (and the endpoint of course). After that, one takes the response from the API (a custom token) and authenticates the same as above. The format of the custom token is:
{
  "email": "abc@xyz.tld",
  "data": "[utf-8 encoded ${timestamp_nonce} string]",
  "signature": "[base64-encoded ECDH signature]"
}
One can use the Keyri SDK to generate this payload, first by looking up the user in Keyri's sdk, and using the key to sign the data (there is a function built into Keyri that does this for you). We display this below
static func signIn(username: String) {
    let keyri = KeyriInterface(appKey: appKey, publicApiKey: publicApiKey, serviceEncryptionKey: serviceEncryptionKey)

    if let key = try! keyri.getAssociationKey(publicUserId: username) {
        let data =  String(Date.now()) + "_" + String(RandomNumberGenerator().random(100000))
        let signature = try! keyri.generateUserSignature(publicUserId: username, data: data)
        let payload = "{\"username\": \(username),\"data\": \(data),\"signature\": \"\(signature)\"}"
    }
}
This payload can then be sent to the custom API, which will respond with a Custom Token, which can be used to authenticate the user as shown above.
Sign in an Existing User on Web App via QR Login
Alternatively, one can send the same payload to a browser session via Keyri's QR Auth functionality, using the easyKeyriAuth function. This will log the user in on the web app as detailed at the top of this guide:
let keyri = KeyriInterface(appKey: appKey, publicApiKey: publicApiKey, serviceEncryptionKey: serviceEncryptionKey)

keyri.easyKeyriAuth(payload: payload, username: username)